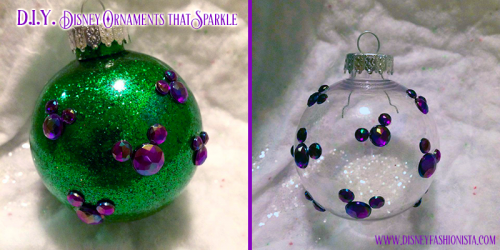
Christmas is coming, and like many of us I’m starting to getting ready! Our decorations are all Disney, ALL over, from the tippy top of the tree, to the tippy ruffles of the skirt. It can be hard to find plenty of decorations that are not only Disney but match the themes I’m going for, so I love making my own for a unique touch of magic in my home.
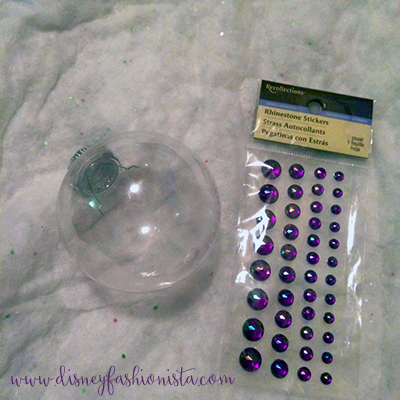
Everyone loved our DIY Mickey ornaments from last year, so I decided why not do another tutorial for some this year? I wanted to keep them easy and with supplies easily found at the local craft store, dollar store, or big box retailer. Easy doesn’t mean they can’t be super blingy and sparkly though! I found some stick on rhinestones at Michael’s that came in multiple sizes, and thought “Oo! Hidden Mickeys!” I really ended up loving these because there was so many color combos I could choose.
I used Recollections rhinestone stickers that came in 4 sizes and clear sphere ornaments. My first step was creating my “hidden Mickeys”. I went with 2 different sizes; for the larger one I used the biggest rhinestone stickers for the head, and the third biggest for the ears. The smaller Mickeys I used the second largest stickers for the head, and the smallest stickers for the ears. I simply measured them out and stuck them on. Once I was confident on my lay out, I began to stick them onto the ornament with a little bit of glue to keep them securely in place. My last step of decorating the outside of the ornament, was to simply work my way around the ornament sprinkling rhinestone Mickeys around the entire ball.

Once satisfied with the placement of your Mickeys, it’s time to fill it up! Of course if you like it as is, you can leave it empty.
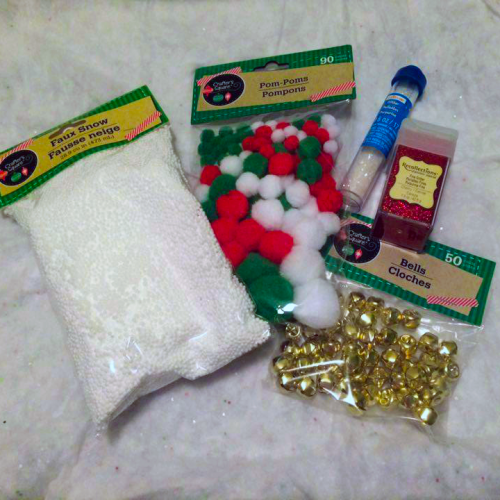
There’s a lot of different options you can choose from when it comes to filling your ornaments. You can use the tiny soft beads of “faux snow”, stuff them with whimsical pom pom balls, bling out with jingle bells, use the tinsel method from last year’s ornaments or even go full sparkle with GLITTER! I used gold jingle bells, white glitter and green glitter for my rhinestone Mickey ornaments this time around. Simply pop off the top of the ornament being mindful of the small metal prongs and then fill with your choice of filling, and pop the top back on. Voila! Easy Mickey ornaments that add a touch of fashion, as well as personal express your own personal style in minutes! These are great to add to place settings for Christmas dinner, hang on the tree or around the house and even great for adorning presents instead of a bow. It’s also a great way to keep your kids, nieces, nephews and cousins entertained over the winter break! Check out mine below!
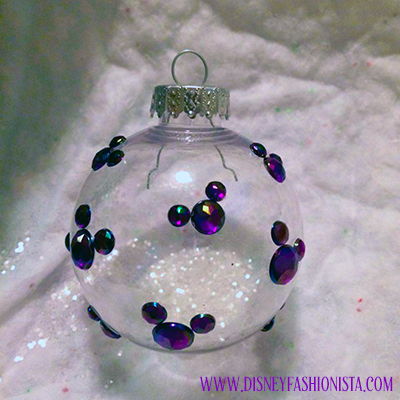
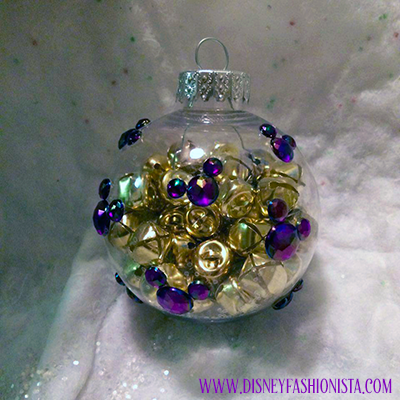
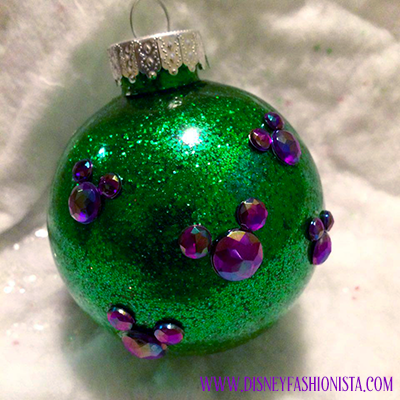
Will you be adding a touch of Disney sparkle to your holiday celebration this year? We’d love to see your DIY Mickey Ornaments!
Disclaimer - As an Amazon Associate, I earn from qualifying purchases.Thank you for visiting the Disney Fashionista website. Be sure to sign up for our Daily Newsletter where we deliver the best in Disney Fashion, Travel, Makeup and More to your inbox! You can find us all over the internet at Twitter, Facebook, Instagram, and even Pinterest!
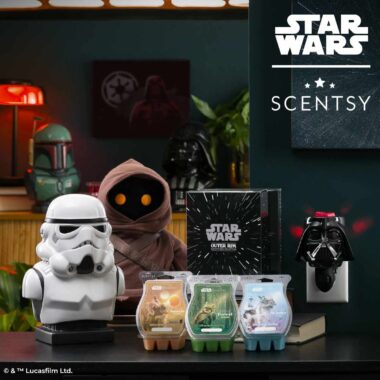
- Just In Time For Star Wars Day A Scentsy Collection Is Coming! - April 26, 2024
- Limited Edition Moana Locket Sparkles and Shines! - April 25, 2024
- Be As Pretty As A Princess With The Beauty and the Beast Colourpop Collection! - April 19, 2024



[…] Sparkling Mickey Ornaments | The Disney Fashionista […]